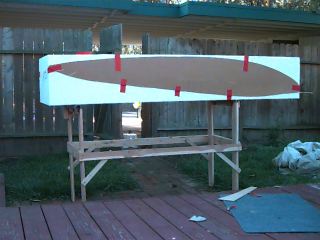
The rocker was cut by placing templates on both sides, and drawing a hot wire cutter across.
 I then did the same thing with the outline (taking the clever step of bending the template material to the rocker while projecting the outline, so that the flat 2D projectionn of the outline in the photo I had traced was reversed).
When the outline was cut by hot wire, I left about 1cm of extra foam around the drawn line - I would shave this down to the traced outline only when I got to the rails, in order to protect the true outline from dings during initial shaping.
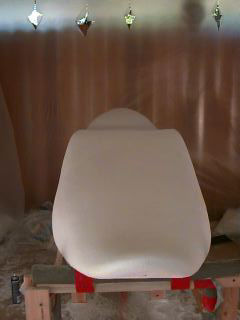
 The deck was the most time consuming and difficult part to shape. I had to consider my body position inside the boat without being able to get inside. I took some basic measurements of me in my standard kayak sitting position and placed wooden rods into the form at these points to give me a set of landmarks (any drawn marks would be quickly sanded off). I also tied a string from a rod at the front and rear centerlines to allow me to keep track of the centerline along the length of the shape.
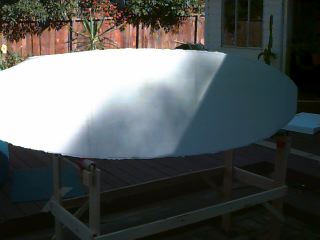
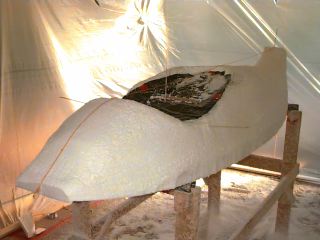 Later I also cut some material into the shape of the cockpit, so that I could prepare a flat surface for adding on the cockpit rim.
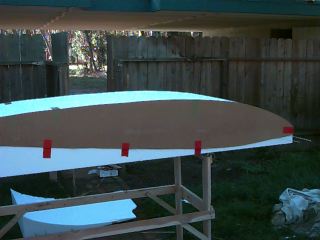
The deck doesn't have tons of influence on the boat once it is on the wave - thats mostly the hull and rails. The side walls did need to be angled in so as to keep the rail exposed when leaning into the face of a wave, but otherwise the deck was constructed for comfort inside (plenty of footroom) and volume balance while paddling out. Because the seat was so close to the stern, this required a large 'hump' in the back to avoid unintended backenders while paddling out and stability in foam. I erred slightly on too much volume in this hump, because too little would have been a disaster.
To shape the deck I used a combination of tools. First I used just a serrated kitchen knife that I rasped back and forth which was good for removing a lot of foam quickly but left a very rough surface. I then shifted to a combination of very rough sanding blocks (36 grit) and Sureform rasping tools before the final sanding, there is not much point in sanding beyond 120 grit or so except on the rails. It is hard to get things perfectly symetrical - I did the best I could just by viewing from many different angles.