
For the hull, I found a cool print polyester fabric that I layed up as the first layer in the bottom fiberglass layup. While I have heard that many fabric types work - you should consider and experiment whether the cloth saturates well with your resin, how thick it is (how much resin will it absorb), etc. Also according to Charlie Walbridge, laying up synthetic fabrics as part of a boat can add some desired flexibility.
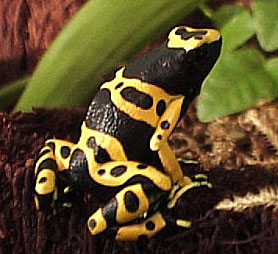
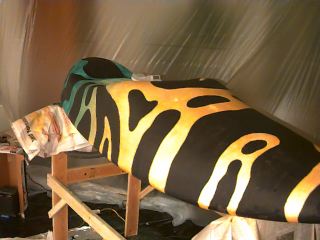
For the deck, I chose to airbrush and hand paint a pattern with a motiff based on poison arrow frogs. On top of that I sprinkled some opalescent glitter (Crystalina) and some small copper flake as part of the final clear coating.
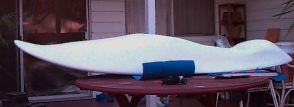
The first step was to smooth the shape with a filler for both painting and layup. This is done by mixing up a batch of 'micro'. This is a mixture of epoxy and tiny glass microballoons (that looks like white powder). This can be made in various consistancies depending on how much micro you add. Remember to work in batches - I did batches of 6oz of formula plus about a little less than twice as much glass bubbles. Mixing in the bubbles is like stirring flour into batter. Apply with a squeegee, watch for drips and thickspots.
[note that you should vacume or otherwise clean your shape at any step where dust would be a bad thing]
Leo Lekas says that this 'micro' step is crucial if you want to avoid heat damage to the foam from the epoxy reaction when laying up the fiberglass. This step fills in the small imperfections in the surface of the shape which provides both a better bond for the fiberglass, and also provided a smoother surface for painting.
I did it in two coats - first I started with a consistancy between honey and toothpaste and tried to get an even coat. After curing and sanding I made a second batch the consistancy of spackle and put this on much like plaster - this was the smooth coat. I didn't do a second coat on the bottom, as I would use the fabric.
I made 2 mistakes in this part of the process. My first coat should have been thinner - and I left a couple uneven thick spots and bare spots in the first coat. Once cured, the stuff is hard to sand except in sharp well defined high spots - this is particularly true if you have a bare spot nearby because you end up sanding more into the foam. If I were to do it again - I would put on a very thin coat - something you could brush easily, this would give the foam a little surface strength after curing. Then using the spackle consistancy I would go over this. With the heavier weight stuff, it is very hard to go around corners smoothly.
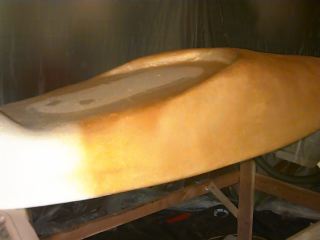
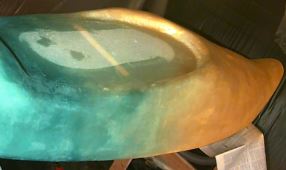
After lightly sanding then vacuming the deck, I began the process of airbrushing the gold to green gradient, gold first. I could have been more patient and done a greater number of lighter coats. As it is the mettalic airbrush paint really picked up the remaining imperfections in the surface. But thats OK. I would recommend not thinning out the paint too much, and do a couple coats. The gradient from gold to green was harder to get than I thought it would be, but in the end looks fine.
Then I applied the black pattern modeled on the motif of the poison arrow frog. You don't want to end up with so much paint that the fiberglass doesn't bond to the shape.

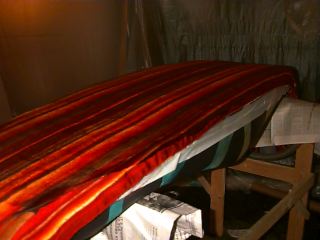 The bottom has a polyester fabric inlay, which was later trimmed to the shape of the bottom (just before glassing the bottom).